Introduction
As summer approaches, many clients are looking for nail services that offer longevity and vibrant colors. Gel pedicures are the perfect solution, providing a stunning look that can last for at least three weeks—ideal for those who love to flaunt their sandals during vacation. In this article, we will explore three essential steps for applying a gel pedicure, along with tips for maintaining the pedicure to keep it looking fresh and beautiful throughout the season.
Step 1: Do Your Prep Work
The key to a successful gel pedicure begins with proper preparation of the feet. Here are a few methods to ensure feet are clean and healthy:
- Quick Dip and Foot Wash: Use warm, soapy water for a gentle wash.
- Antiseptic Spray: For clients who have just bathed, thoroughly spray feet with an antiseptic solution.
Avoid soaking feet or working on clients who have recently been in water for extended periods; this can cause toenails to expand, compromising the durability of the gel application.
Darlene Sammons, a licensed massage therapist and nail technician, emphasizes the importance of cleanliness: “I never soak the feet before applying gels. I sanitize with soap and water and use a sanitizing gel as I massage. Then, I perform a mini-pedicure to ensure the best results.”
Next, ensure you’re working with healthy nails. Look for any signs of injury, inflammation, or infection and avoid any problematic areas. Prepare the nail plates by gently pushing back cuticles, removing excess tissue, and shaping the free edges to your client’s preference. Follow your gel system’s instructions for dehydrating and priming the nails.
Apply a thin, even coat of clear base gel on each toe, ensuring it bonds well with the natural nails. This base coat serves two purposes: it acts as a foundation layer for better adhesion of color gels and provides protection for the natural nail during color changes.
Lastly, fully cure the gel base coat to insure it sets properly. For clients needing sculpting or tips, clear acrylic can be used to create the desired length and shape before applying gel polish.
Step 2: Picture-Perfect Application
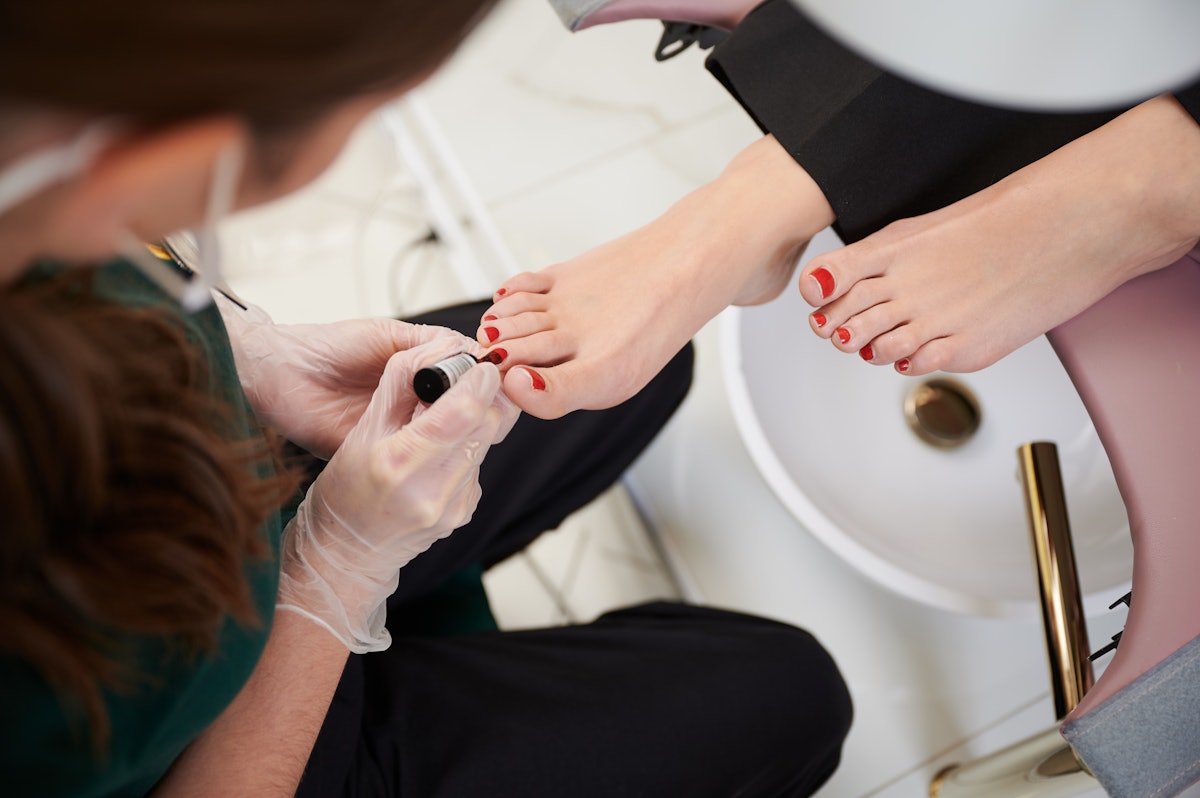
Now it’s time to apply the gel polish. Depending on your client’s color preference, apply one or two coats of gel polish. It’s essential to work quickly to avoid any issues with the color gel shrinking or pulling away.
Before placing the toes under the UV lamp, make sure that no gel has touched the skin or cuticles. If any gel has made contact, use alcohol to wipe it away before curing. Remember, unlike traditional nail polish, gel cannot be easily corrected after curing.
For a fun twist, try adding some creative flair by lightly tapping the nails’ free edges with a brush dipped in a different color to create a contrasting border, perfect for a stylish French tip look.
Step 3: High-Shine Finish
Not all gel systems cure to a glossy finish. Test your specific products to determine if a high-shine top coat is necessary. If so, apply this final coat with care, ensuring to cap the free edges to provide a durable and shiny finish.
Maintaining the Gel Pedicure
Gel toenails typically grow more slowly than fingernails, so clients can expect to fill their enhancements every three to six weeks. When it’s time for a fill, start with clean, dry feet. Using either a hand file or an electric file, gently buff away the existing color, shape the free edges, and prep the regrowth areas just as you would for fingernails.
Darlene advises scheduling traditional pedicure services that include skincare, massage, cuticle work, and callus reduction between gel fills. This keeps the feet looking healthy and can extend the lifespan of the gel application.
Conclusion
By following these three essential steps for applying and maintaining gel pedicures, you can offer your clients a stylish and long-lasting option for their summer nail care. With proper preparation, application techniques, and maintenance, gel pedicures will keep clients happy and their toes looking vibrant all season long.


