Introduction
Are you avoiding the natural nail area instead of embracing it? If so, this detailed tutorial is for you. We will walk you through the natural nail manicure process step by step using the one and only Blue Cross products. This video and article will show you that beauty can still be achieved without any enhancements.
Essential Natural Nail Supplies
Before we begin, let’s gather the necessary supplies to achieve a flawless natural nail manicure:
- Nippers
- Pusher
- File
- Top coat
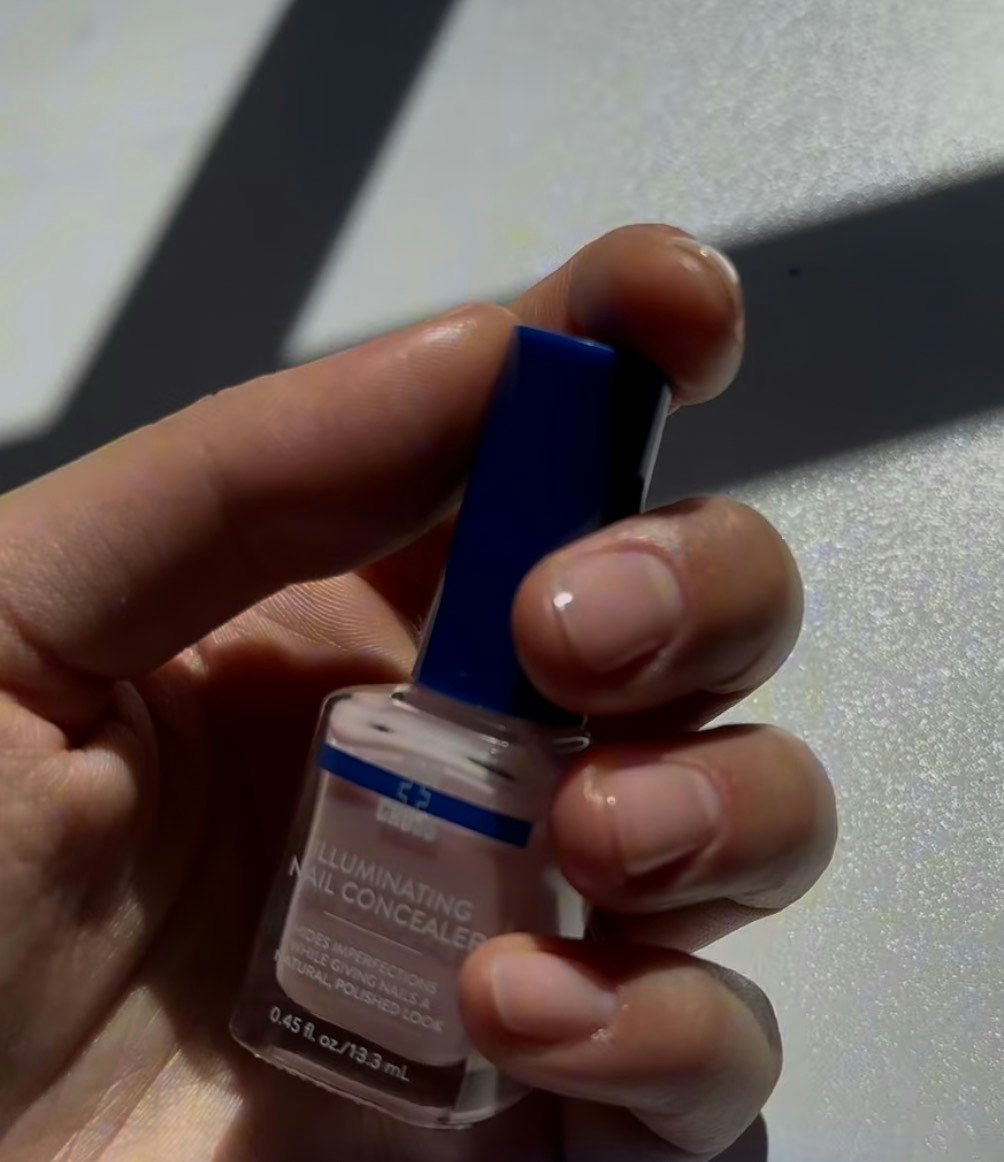
- Blue Cross Nail Concealer
- Blue Cross Cuticle Remover
- Blue Cross Nail Whitener
- Blue Cross Nourishing Oil
Your Step-by-Step Natural Nail Manicure Guide
Follow these steps carefully to achieve a polished and clean look for your natural nails.
Step 1: Nail Filing
Start by filing the nails. Even though they are short, this step is crucial to even them out and remove any jagged edges. A smooth nail edge is essential for a clean appearance.
Step 2: Applying Cuticle Remover
Next, take the Blue Cross Cuticle Remover and apply it to the nail using a cotton swab. This method allows you to remain in control of the product, ensuring even coverage.
Step 3: Cleaning Under the Nails
While the cuticle remover sits, use the opposite end of the pusher to clean out any dirt or debris under the nails. This step promotes overall nail health.
Step 4: Pushing Back Cuticles
Once the nail is clean, take the smooth side of the pusher and gently push back any overgrown cuticle off the nail bed. This step reveals the nail area that needs polish and makes it easier to apply products.
Step 5: E-filing
Using an E-file, go over the nails to get anything you may have missed. This tool is perfect for lifting up the cuticle even more to expose what needs to be cut.
Step 6: Cutting Cuticles
Afterward, take the Blue Cross Cuticle Nippers and cut away any excess cuticle. A good tip to know what needs to be cut is to observe the color of the cuticle; if it appears translucent or white, it’s time to trim!
Step 7: Exfoliating the Skin
Return to your E-file and use a sanding bit to lightly exfoliate the surrounding skin. This step ensures longer-lasting results and reduces the risk of hangnails.
Step 8: Applying Nail Whitener
To brighten the appearance of your nails, start with the Blue Cross Nail Whitener. This product enhances the natural whiteness of your nails.
Step 9: Using Nail Concealer
Next, apply the Blue Cross Nail Concealer to fill in any gaps and imperfections on the nail surface. This product gives your nails a flawless appearance.
Step 10: Finishing with Top Coat
After applying two coats of the Nail Concealer, finish off your look with a top coat. This step adds shine and protects your manicure.
Step 11: Hydrating Cuticles
Finally, rehydrate the cuticles with Blue Cross Nourishing Oil. This will keep your cuticles healthy and prevent dryness.
Conclusion
Congratulations! You now have a flawless natural nail manicure that shines with beauty. We hope you enjoyed this tutorial and found it helpful. For more tutorials and beauty tips, follow @bluecrossbeauty and @thesalontoyou on Instagram for the latest updates. All these essential products can be found at Amazon, Target, and Sally’s.


