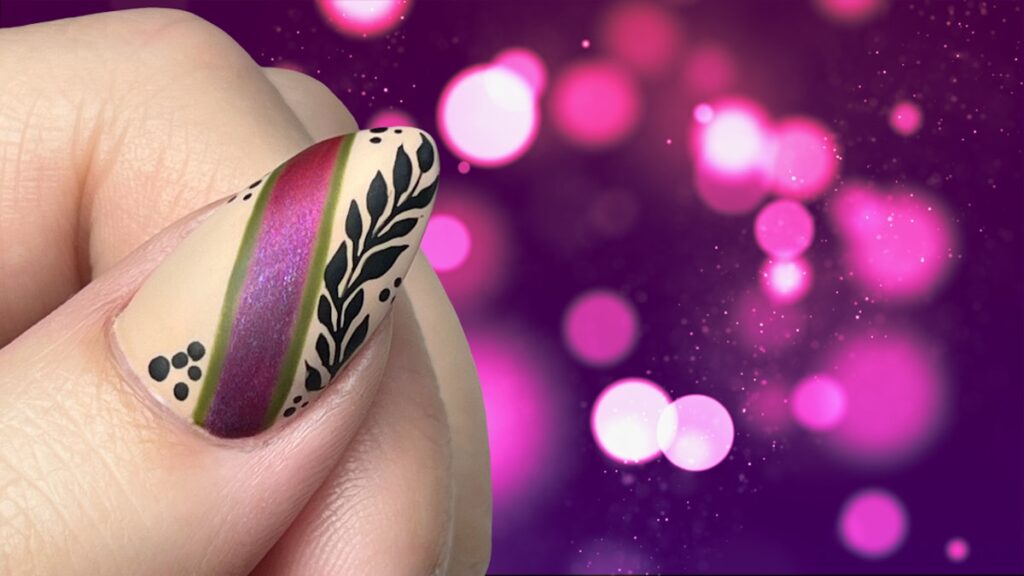
Introduction to Fall Ombré Nail Art
As the leaves change color and the air turns crisp, fall is the perfect season to embrace earthy tones in your nail art. The beautiful blend of warm shades can bring a cozy vibe to your look, and one of the most popular techniques to achieve this is the ombré effect. In this tutorial, nail artist and educator Hope Jung will guide you through creating stunning abstract fall ombré nails.
What You Will Need
Before diving into the tutorial, gather your supplies. For this fall ombré nail art, you will need:
- #6 Oval Bling Brush
- Stripy Brush
- Shorty Nail Art Brush
- Bling Stylus
- Base coat (nude polish)
- Light Elegance Gel Polishes: Stone Cold, I Lava You, Rock My World
- Black gel paint
- Top coat (matte or shiny)
Step-by-Step Guide to Create Your Fall Ombré Nail Art
Step 1: Prepare Your Nails
Begin your nail art journey by lightly buffing the surface of your nails to ensure proper adhesion of the polish. Apply a base coat of nude polish using the #6 Oval Bling Brush. This foundation color will provide an excellent canvas for your fall ombré design.
Step 2: Start the Ombré Effect
Using a stripy brush, dip into the Stone Cold gel polish and create a diagonal rectangle on your nail. This beautiful shade resembles a soft gray that blends wonderfully into the warm tones of fall. Immediately after applying Stone Cold, blend it into the rich, vibrant shade of I Lava You to create a seamless ombré effect. This step adds depth and warmth to your design.
Step 3: Outline the Rectangle
Next, take your shorty nail art brush and the Rock My World gel polish to outline the rectangle you created in the previous step. This will give your design a clean and distinguished edge, making the ombré pop even more.
Step 4: Add Dots for a Unique Touch
Now it’s time to accentuate the negative space around your rectangle. Use the bling stylus dipped in black gel paint to create assorted dots around the edges. This step adds playful elements to your design and enhances its overall appeal.
Step 5: Create Ivy Accents
For a touch of nature-inspired design, return to your stripy brush and create a thin waved line across your nail. Accent this line with teardrop shapes resembling leaves, which will represent soft ivy intertwining with your ombré. This addition brings your fall theme to life, embodying the spirit of the season.
Step 6: Finish Your Design
The final step is to seal your beautiful art with either a matte or shiny top coat, depending on your preference. The top coat not only protects your design but also adds the finishing touch that brings everything together.
Final Thoughts
Creating abstract fall ombré nail art is a fantastic way to showcase your creativity and embrace the warmth of autumn tones. This step-by-step tutorial by Hope Jung provides all the necessary details to help you achieve this stunning look using Light Elegance products. Don’t forget to share your creations on social media, and tag @hopejungnails for a chance to be featured!
Now that you have the tools and knowledge to create your own fall ombré nails, it’s time to get started and have fun expressing your personal style this autumn!

