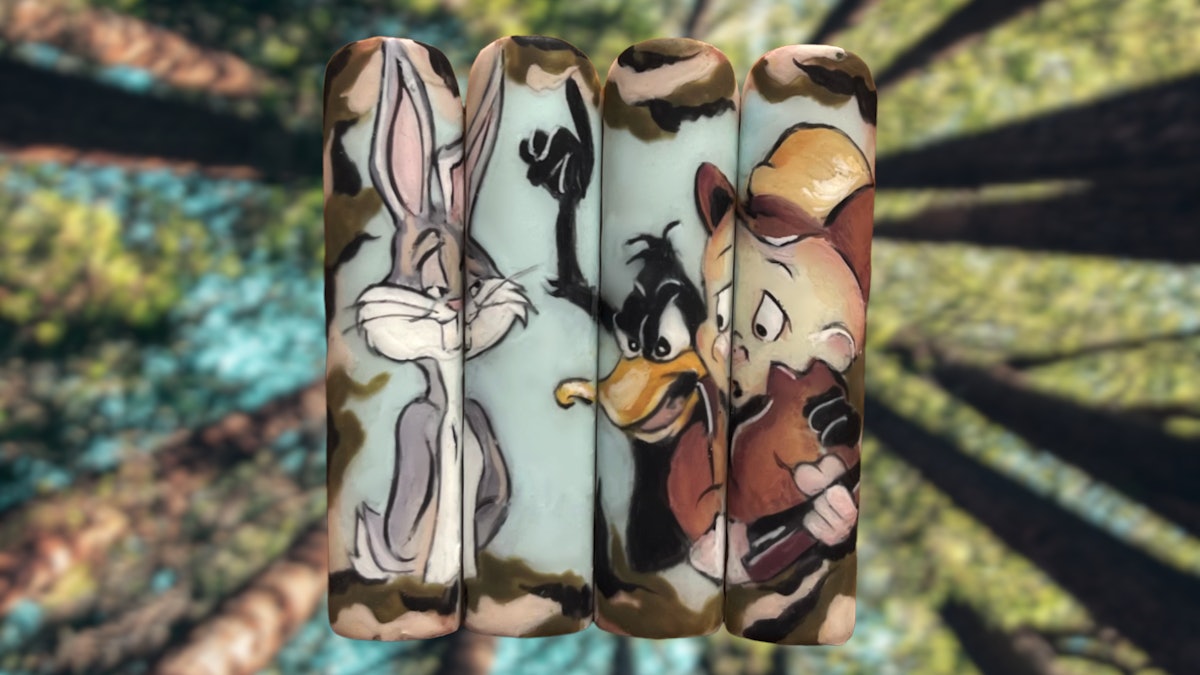
Introduction to Fairy Forest Nails
Meet the Artist: Catt of Claws & Creatives
Catt has been passionate about nails since an early age, and her journey from nail art enthusiast to professional technician is both inspiring and relatable. With a specialization in sculpted nails ranging from medium to XXL sizes, Catt has mastered the art of bold and intricate designs. Her Instagram page, @clawsandcreativesllc, showcases her remarkable talent and creativity, making her a prominent figure in the nail art community.
Catt’s Passion for Nail Art
What sets Catt apart is not just her skills but also her dedication to uplifting other nail technicians. She believes in sharing knowledge and encouraging others to embrace their creativity. This has earned her respect and admiration in the industry, fostering a community of aspiring nail artists.
Inspiration Behind the Fairy Forest Design
The inspiration for the Fairy Forest Nails comes from Catt’s love for nature and fairy tales. The design embodies the whimsical elements of a forest, featuring earthy tones, sparkling accents, and delicate floral patterns. Catt blends colors and textures to create a look that not only is stunning but also tells a story. Each set of nails becomes a unique expression of individuality and creativity.
Step-by-Step Guide to Creating Fairy Forest Nails
Now that you’re familiar with the artist behind this trendy nail design, let’s dive into the detailed steps to create your own Fairy Forest Nails. Whether you’re a nail technician or a DIY enthusiast, this guide will be beneficial.
Materials Needed
- Base coat
- Builder gel or acrylic for sculpting
- Nail polish in earthy tones (greens, browns, and soft pastels)
- Nail art brushes
- Glitter or shimmer powder
- Top coat
- Nail art gems or embellishments (optional)
Step 1: Prepare the Nails
Start by properly preparing the natural nails. Remove any old polish, push back the cuticles, and buff the nail surface for better adhesion. Apply a base coat and cure it under a UV lamp if using gel products.
Step 2: Sculpt the Nails
If you’re working with acrylic, form the desired nail shape (medium to XXL) using builder gel or acrylic. Ensure that the nails are even and maintain the desired length. Once sculpted, allow the nails to set completely.
Step 3: Apply Base Colors
Choose earthy tones that resonate with the fairy forest theme. Apply the base color of your choice to each nail using smooth strokes. For a unique twist, consider using an ombre effect by blending two colors.
Step 4: Create the Forest Details
Using nail art brushes, start adding details to create the fairy forest look. You can paint delicate leaves, vines, and flowers to reflect the serene beauty of a forest. Feel free to experiment with different colors, layering them for depth and dimension.
Step 5: Add Sparkle
The sparkle that captures the essence of fairy magic can be added with glitter or shimmer. Apply it to the tips or as an accent to the forest details for an enchanting effect.
Step 6: Finishing Touches
To make your Fairy Forest Nails truly captivating, consider adding nail art gems or embellishments that represent elements of nature, such as tiny butterflies or flowers. Once you’re satisfied with your design, cap everything off with a top coat to ensure longevity and a beautiful shine.
Step 7: Care and Maintenance
To keep your Fairy Forest Nails looking fresh, regular maintenance is crucial. Avoid using your nails as tools, and moisturize your cuticles regularly to ensure they remain healthy. Schedule touch-ups every few weeks to maintain the design.
Conclusion
The Fairy Forest Nails are more than just a trend; they represent creativity, individual expression, and the enchanting beauty of nature. With Catt’s guidance, anyone can master this beautiful design. Embrace your creativity, gather your materials, and embark on your journey to create a stunning set of Fairy Forest Nails that are sure to impress. Whether you are a nail technician looking to expand your repertoire or an individual seeking to enhance your nail art skills, this tutorial will guide you every step of the way.


