The Road to Flawless Nail Art
Nail art is a beautiful expression of creativity, but it can come with its share of roadblocks. Whether you’re a professional nail artist or someone who simply enjoys decorating their nails at home, mastering the art of nail design requires patience, skill, and a few expert tricks up your sleeve. In this article, we’ll explore common challenges faced during nail art application and provide some tried-and-true solutions from seasoned nail artists.
Common Nail Art Challenges
1. Imprecise Line Art
Hand-painted designs, especially intricate line art, can be among the most challenging nail art techniques. They require practice and precision, but the payoff is worth it. A clean, well-executed line can elevate any nail design.
Expert Solution for Imprecise Line Art
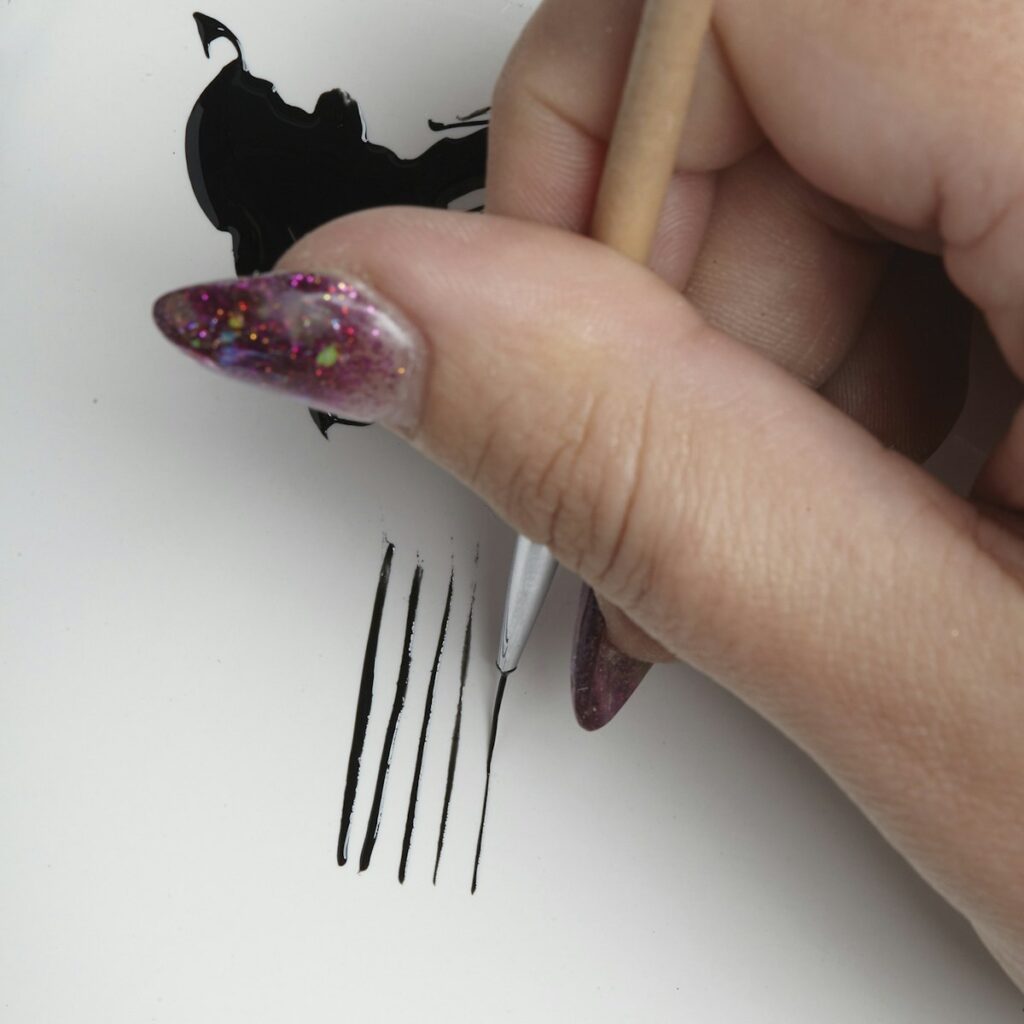
To achieve perfect line art, start by placing gel paint on a tile or work surface. Then, take a striping brush and drag it through the paint, leaving a small bead at the end. This ensures that your brush is loaded just right.
- Drag the brush through the gel paint until the tip is finely pointed.
- Practice on the tile before working on nails, adjusting pressure for varying line thickness.
- Experiment with opacity and fading techniques to add depth to your designs.
2. Lifting Striping Tape
Striping tape is a fantastic tool for creating geometric designs, but if the tape doesn’t adhere properly, your hard work may be compromised.
Expert Solution for Lifting Striping Tape
To secure striping tape effectively, leave a small gap around the edges of the nail. This encapsulation method enhances adhesion.
- Before cutting, measure tape alongside the nail for accuracy.
- Press the tape down securely with a silicone brush.
- Apply a coat of builder gel over the tape and cure to lock it in place, finishing with a top coat for a polished look.
3. Chipping Chrome
Chrome nails are striking yet notoriously tricky to apply. A smooth foundation is critical to prevent chipping.
Expert Solution for Chipping Chrome
When applying chrome, ensure the nail surface is even; a lumpy application will lead to chipping.
- Start with a thin layer of no-wipe top coat and cure it first.
- Using a silicone brush, apply chrome pigment carefully, avoiding excess that may create lumps.
- Seal the chrome with another coat of no-wipe gel top coat and cure again.
- Finish with a layer of regular gel top coat for added protection.
Bonus Tip for Nail Art Success
If your foil doesn’t transfer well, simply wipe the back with alcohol to improve adhesion. This small adjustment can save your design from looking subpar!
Must-Have Products for Nail Art Enthusiasts
To achieve flawless nail art, consider investing in the following products:
- CinaPro Eclectic Lines Nail Art
- Light Elegance Color Gel in Longboard
- OPI Chrome Effects in Blue “Plate” Special
- SNS Gel Star
- Cuccio Pro Silicone Tip Non-Bristled Brush Set
- LeChat Dotting & Liner Brush
- Wildflowers 100 Eye Shadow Applicators
Conclusion
By following these tips and solutions, you can navigate common pitfalls in nail art and elevate your skills. Nail art is a journey of creativity and self-expression, and with practice, you can achieve stunning results that keep your clients coming back for more.
Are these nail art tips helpful? Let us know in the comments below!
-Dina Ciccarelli
This article was originally published in NAILPRO‘s July 2018 issue.

