Introduction
Creating stunning pink and white acrylic nails is both an art and a skill that nail technicians strive to perfect. Whether you’re a professional nail artist or a DIY enthusiast, this comprehensive guide will walk you through each step, ensuring your results are salon-quality.
1. Wash Hands Thoroughly
Begin by thoroughly washing your hands, as well as having your client do the same. Use a clean, dry nylon nail brush to gently clean the nails. After drying the hands completely, file and shape the natural nails with a 180-grit file, leaving the free edge flat or square for better form adherence. Following this, buff the natural nails lightly with a fine-grit buffer to remove any shine. For an extra level of detail, consider using a fine diamond, round-tip e-file bit on a low speed.
2. Remove Dust from Nails
Using a clean brush, gently remove any dust particles generated during filing. Avoid touching the nails with your fingers, as natural oils from your skin may negatively affect product adhesion.
3. Apply Dehydrator
Once dust is cleared, apply a dehydrator to eliminate any remaining impurities and to dehydrate the nail plate. Next, utilize a sticky primer or a traditional acid-based primer for enhanced adhesion. Apply a coat of primer to all 10 nails, ensuring you do not flood the cuticles or sidewalls for ideal results. Allow the primer to dry completely before moving onto the next step.
4. Decide on Reverse of Traditional Application
To achieve the perfect pink and white acrylics, you have the option to choose between a reverse or traditional application. In the traditional method, apply the white product first. This technique allows you to focus completely on the white application and is beneficial for adjusting the C-curve later on. Ensure your liquid monomer has a milky consistency as you switch products for the next step, applying the white powder for each tip in a single ball.
5. Timing on Wiping Smile Lines
A key part of creating the perfect acrylic set is knowing when to wipe your smile lines. It requires practice. Use a sculpting brush dipped in liquid to refine the smile lines. Hold the brush straight up, ensuring that the upper end points to the ceiling, and gently wipe and shape the smile line until the product is firm and no longer moves.
6. Apply Pink Product
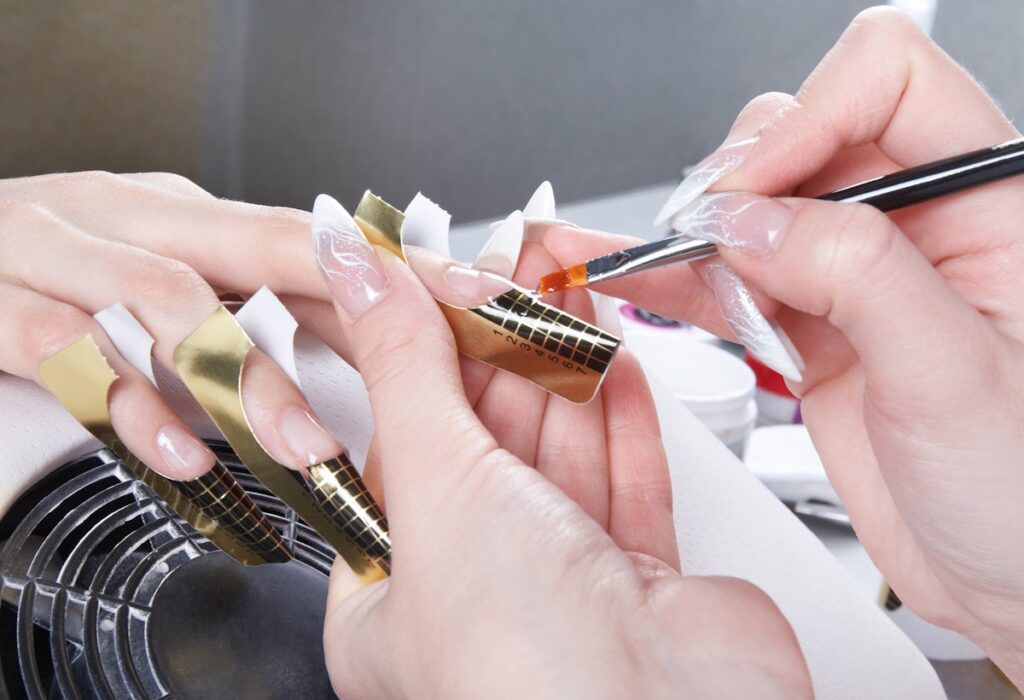
Once the white tip application is dry, it’s time to apply the pink product. Start by placing a large ball of pink acrylic in the center of the nail plate, careful not to overextend the product past the smile line. Follow this by applying a second, smaller ball of pink above the cuticle area to create a seamless gradient effect. Ensure each nail has the correct apex for added strength and structure; if necessary, further refine the profile using clear powder.
7. Remove the Forms from Nails
After the acrylic has set appropriately, carefully remove the forms from each nail. Utilize a hand file to shape and check the consistency of length and form across all nails.
8. Shape the Nail
With a hand file or medium-grit e-file bit, refine the nail’s surface by beveling the product where it meets the cuticle for a flush application with the natural nail. Examine each nail’s profile again, ensuring uniformity.
9. Remove the Dust
Once shaping is complete, wipe away any leftover dust and gently buff the surface of the nails. Double-check the nail tips, sides, and undersides for smoothness. Finish off the look with a gel sealant for that high-gloss shine that completes your stunning pink and white acrylic nails.
Conclusion
By following these detailed steps, creating perfect pink and white acrylic nails becomes attainable. With practice and patience, you can elevate your skills and offer beautiful nail enhancements that leave a lasting impression.
This article was originally published by Nailpro in 2015.

