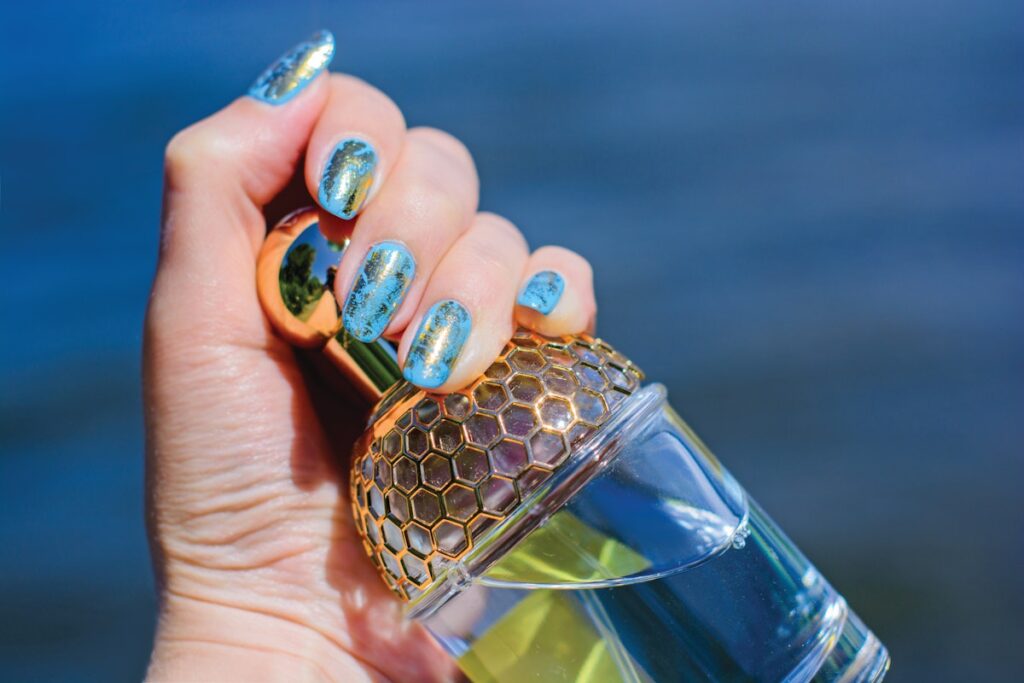
Introduction to Nail Stamping
Nail stamping is a versatile and creative technique that can elevate your nail art game. This innovative method involves transferring pre-designed images from a stamping plate onto the nail using a stamping tool. The key advantage of nail stamping is its ability to produce precise and detailed designs that would otherwise be challenging to achieve with freehand painting.
Why Choose Nail Stamping?
For both seasoned nail artists and those just starting, mastering nail stamping can add a new dimension to your services. Its popularity is due to its ease of use, speed of application, and the wide array of designs available. With just a few tools and techniques, you can create intricate nail art that will impress your clients and boost your portfolio.
Benefits of Nail Stamping
Nail stamping offers numerous benefits:
- Efficiency: Nail stamping allows for quick application of complex designs, saving you time during nail appointments.
- Consistency: Stamping ensures that each nail design is identical, which is particularly beneficial for clients who want matching nails.
- Creativity: With countless designs available, nail stamping opens up endless creative possibilities, from fine lines to bold patterns.
Essential Tools for Nail Stamping
Before you start stamping, it’s important to have the right tools at your disposal. Here’s a list of essential items you’ll need:
- Stamping Plates: These plates are the canvas of your designs. They come in various patterns, from floral to geometric and seasonal themes.
- Stamping Tool: A quality stamper is crucial for successfully transferring designs. Silicone stampers are popular for their effectiveness.
- Scraper: A scraper is used to remove excess polish from the stamping plate, ensuring that only the desired design is transferred.
- Nail Polish: Use polish specifically formulated for stamping. These polishes are thicker and have a more pigmented formula.
- Base and Top Coats: Always begin with a base coat to protect nails and finish with a top coat to enhance the longevity and shine of your designs.
How to Prepare for Nail Stamping
Preparation is key to successful nail stamping. Here are the steps to ensure a flawless outcome:
1. Nail Preparation
Start with clean, dry nails. Remove any previous polish and push back cuticles. Buff the nail surface lightly to ensure the polish adheres well.
2. Apply Base Coat
After preparing the nails, apply a base coat. This not only protects the nails but also provides a good surface for your stamping polish.
3. Choose Your Design
Select a design from your stamping plates. Keep it simple, especially if you’re a beginner.
Step-by-Step Nail Stamping Process
Once you’re prepared, follow these simple steps to achieve beautiful stamped nails:
Step 1: Apply Stamping Polish
Apply a thin layer of stamping polish onto the desired design on the stamping plate, ensuring it covers the design completely.
Step 2: Use the Scraper
Using the scraper at a 45-degree angle, scrape off the excess polish, ensuring only the design remains on the plate.
Step 3: Stamp the Design
Quickly press the stamper onto the plate, picking up the design. Then, immediately transfer the stamper onto the prepared nail, rolling it across to ensure even coverage.
Step 4: Repeat Steps
Repeat the stamping process for each nail, ensuring to clean the plate and scraper between uses to maintain clarity of designs.
Step 5: Finish with Top Coat
Once all nails are stamped, finish with a top coat. This not only seals your design but also gives it a glossy finish, enhancing its appeal and durability.
Common Mistakes to Avoid
As with any skill, beginners in nail stamping may face common challenges. Here are mistakes to avoid:
- Using Regular Polish: Regular nail polish is too thin for stamping. Always use stamp-specific polish for best results.
- Not Cleaning Plates and Scrapers: Failing to clean your tools can lead to smudged designs and decreased effectiveness.
- Pace Yourself: Rushing the process often leads to mistakes. Take your time to ensure each step is executed properly.
Advanced Nail Stamping Techniques
Once you’ve mastered the basics, you can explore advanced techniques to further enhance your nail stamping:
1. Layering
Layering involves stamping multiple designs over one another for a more complex look. Start with a base design and stamp another on top for added depth.
2. Color Mixing
Experiment with different colors of polish to create gradients or rainbow effects, making your designs more visually appealing.
3. Using Multiple Plates
Combine designs from different plates to create a unique look that reflects your personal style and creativity.
Conclusion
Nail stamping is an incredible technique that can significantly enhance your nail art offerings. By investing in quality tools and practicing your technique, you’ll soon be able to create stunning designs that will thrill your clients. With endless designs and methods to explore, nail stamping is a fun and rewarding aspect of nail art that is sure to keep you inspired.

