Introduction
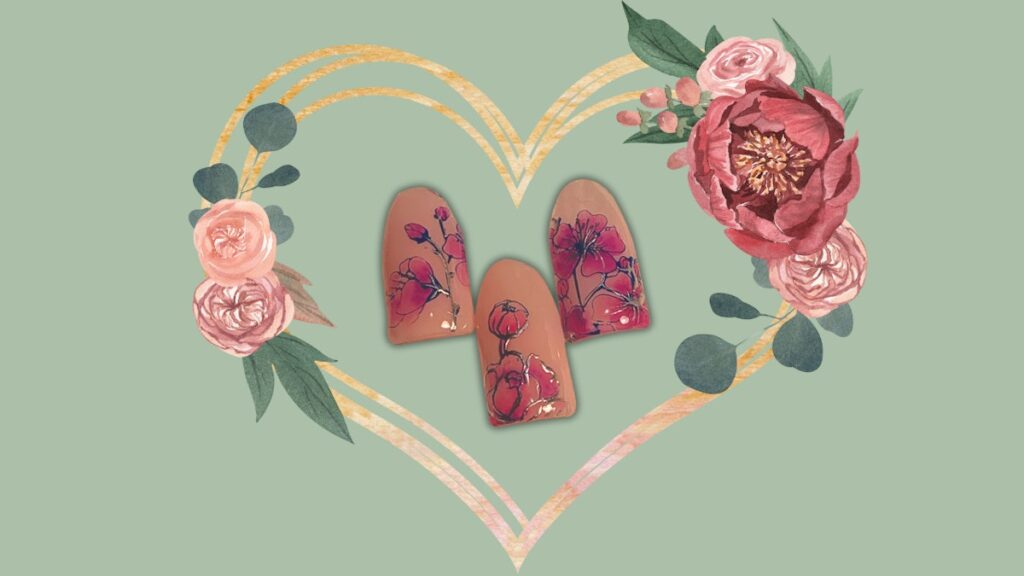
A wedding is not just a ceremony; it’s a celebration of love and individuality. For brides, the perfect nail design is an essential part of looking their best on this special day. While traditional choices often include classic French manicures, more couples are embracing unique styles that reflect their personalities. In this tutorial, we will focus on creating beautiful watercolor nail designs, featuring soft colors and floral stamping, perfect for any modern bride.
Why Choose Watercolor Nail Designs?
Watercolor nail art has gained immense popularity due to its artistic flair and dreamy aesthetic. This style allows brides to express creativity while maintaining an elegant appearance. The beauty of watercolor nails lies in their fluidity, blending different shades to create a stunning effect. It complements various wedding themes, from bohemian to modern chic, making it an ideal choice for brides who want something unique.
Getting Started: Tools and Materials
Before diving into the tutorial, gather the necessary supplies to create your watercolor nail design:
- Base coat
- Nude or light-colored nail polish (as a base)
(Choose a shade that complements your wedding theme) - Watercolor nail art brush or a small makeup sponge
- Soft-colored nail polish (in shades of pink, blue, green, yellow, etc.)
- Floral stamping plates (optional, for added design)
- Top coat
- Nail cleanup brush
- Water and a small dish
Step-by-Step Tutorial
Step 1: Prepare Your Nails
Start by cleaning and trimming your nails to your desired shape. Apply a base coat to protect your natural nails and enhance the longevity of your design.
Step 2: Apply a Base Color
Paint your nails with a nude or light-colored base coat. This will create a canvas for your watercolor design. Allow the base color to dry completely before moving on to the next step.
Step 3: Create the Watercolor Effect
Using a watercolor nail art brush or sponge, apply a few drops of your chosen soft-colored nail polishes onto a dish with a little water. Dip the brush or sponge into the mixture and gently dab it onto your nails, allowing the colors to blend beautifully together. Feel free to layer the colors to achieve depth and dimension in your design. Remember, the key is to maintain a light touch to create that dreamy watercolor effect.
Step 4: Add Floral Stamping (Optional)
If you want to incorporate floral elements into your design, use floral stamping plates. Apply the desired stamping polish to the plate, scrape off the excess, and gently press the stamper onto your nail. This adds a lovely dimension to your watercolor nails and brings a romantic vibe perfect for a wedding.
Step 5: Seal the Design
Once you’re satisfied with your watercolor and stamping design, apply a top coat to seal everything in place. This will enhance the shine and ensure your art stays intact throughout the wedding festivities.
Tips for Perfecting Your Watercolor Nail Design
- Practice makes perfect: If you’re new to watercolor nail art, try a few practice runs on a piece of paper or a practice nail before applying the design to your nails.
- Color palette: Select colors that reflect your wedding theme or personal style. Soft pastels typically work well, but don’t hesitate to explore bolder shades if they resonate with you.
- Get inspired: Browse through various nail art websites or Instagram for inspiration, and don’t be afraid to experiment with different techniques.
Conclusion
Your wedding day is a celebration of love, and your nails should express your unique style and personality. Watercolor nail designs offer a beautiful and modern way to add flair to your bridal look. By following this tutorial, you can create stunning nails that will capture attention and complement your overall wedding theme. Get ready to show off your artistic side and enjoy your magical day!

