Introduction
Creating the perfect canvas for nail enhancements is crucial for achieving long-lasting results. Whether you’re applying Shellac, gel, or acrylic nails, the preparation of the natural nail is a foundational step that cannot be overlooked. In this detailed guide by Alice Nali, we will explore five essential steps to better prepare your nails for any enhancement treatment.
Why Prepare the Natural Nail?
The importance of good nail preparation cannot be overstated. Poor preparation can lead to nail lifts, breakage, and even premature loss of enhancements. A lack of proper preparation can create a detachment between the nail and the product, often due to oils on the nail surface or moisture trapped underneath the enhancement.
The natural nail plate is covered with oils from the body as well as external substances from moisturizers, creams, soaps, and detergents. Our task is to create a clean, buffed surface free of oils to ensure that the enhancement adheres correctly. Even the smallest shiny areas can result in lifting and loss of product, so every part of the nail must be well-prepared. This precise preparation is vital for the health and longevity of the nails.
Step 1: Cuticle Preparation
The first step in perfect nail preparation involves meticulous cuticle care. I recommend performing a dry manicure over a wet one since water can soften the natural nail plate. Applying products on a softened nail can change its shape and lead to lifting.
For the best cuticle and nail preparation, consider using small, gentle drill bits (specifically diamond bits with red or blue bands). These tools help lift the cuticles while buffing the surface of the nail to remove any oils underneath the cuticles. After this process, carefully trim the cuticles to ensure a clean nail bed for application.
Step 2: Nail Plate Buffing and Shaping
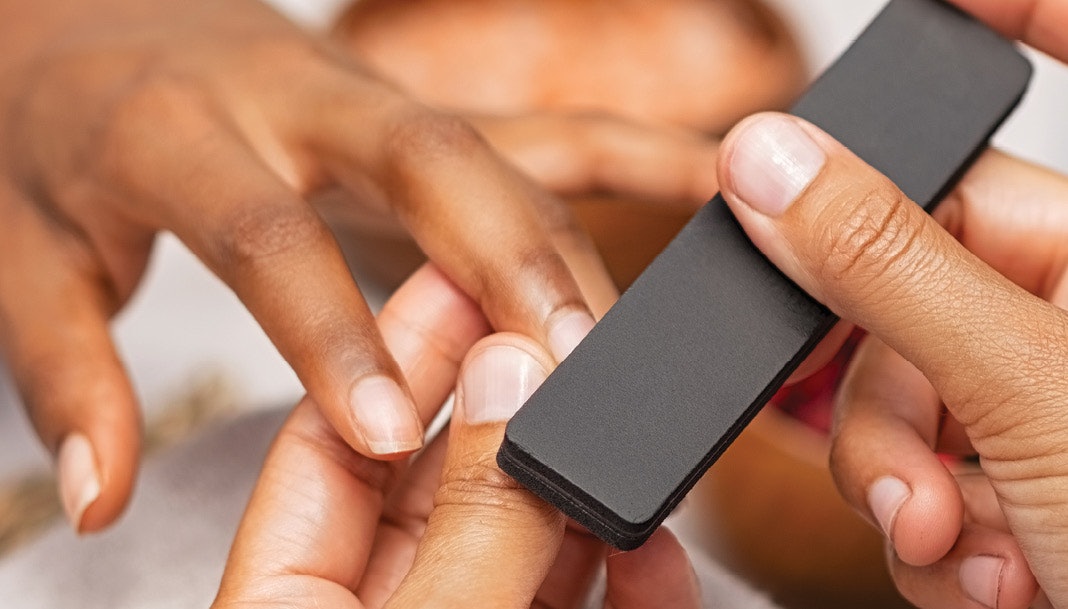
Next, focus on buffing and shaping the nail plate. Gently file the nail using a 180-240 grit file, taking care not to over-file and damage the natural nail. When working with extensions, completely remove the free edge to ensure better adhesion for nail forms or tips. For overlays, file the nail into your desired shape while checking for even length and direction.
Using the same file, gently buff the surface of the nail without applying excessive pressure. Start from one side and move to the other, aiming to remove any shiny spots that could interfere with the adhesion of the product.
Step 3: Remove Dust
An often-overlooked step is the complete removal of dust from the nail before applying any products. Dust left on the surface can cause bubbles or lifts, jeopardizing the lasting effect of the enhancement. Utilize a stiff brush to gently sweep away dust from the nail surface and underneath the free edge.
Next, dampen a pressed cotton pad with a cleanser and gently wipe the nail downward to remove any remaining debris. For precision, use an orange wood stick wrapped in a pad to clear dust from around the cuticles and sidewalls. Allow the cleanser to evaporate prior to the application of primers.
Step 4: Prime the Nails
Priming the nails is vital to achieving the best adhesion. There are several types of primers available on the market, which can be categorized into three main types:
- Dehydrator: This is an alcohol-based primer that removes oils from the nail plate. Apply it evenly, ensuring that it evaporates (within about 30 seconds) before proceeding with enhancements.
- Acid Primer: This deep-penetrating primer is used sparingly in cases where adhesion is an issue. Avoid using it on pregnant or breastfeeding clients. Its acidic nature requires careful application and full evaporation (around 2-3 minutes) before the next product is applied.
- Acid-Free Primer: This gentle primer forms a sticky layer to promote adhesion without the use of acids. It should not touch the skin to prevent lifting issues.
Step 5: Apply the Base
The base layer is crucial for various nail treatments. When applying the base, avoid contact with the cuticles to prevent lifting. A light massaging motion with the brush can help the treatment adhere better while curing the base appropriately. Do not remove the sticky layer post-curing before applying subsequent layers.
Aftercare Advice
To prolong the results of your nail salon work, it’s essential to provide clients with aftercare advice. Encourage them to apply cuticle oil twice daily to maintain moisture and to prevent breakage or lifting of the enhancements. Advise clients to avoid soaking their hands in water for at least 24 hours, especially after acrylic treatments, as excessive moisture exposure can alter the nail shape.
Additionally, steer clients away from aggressive soaps that may compromise the longevity of their nail enhancements. Recommend using protective gloves during household chores to maintain pristine condition. Through cooperative efforts between nail technicians and clients, beautiful results and durable enhancements can be achieved.
Conclusion
In summary, proper nail preparation is the foundation of a successful nail enhancement treatment. By following these five essential steps—cuticle preparation, nail buffing and shaping, dust removal, priming, and base application—you can ensure your clients leave the salon with nails that not only look great but last longer. With proper aftercare, both technicians and clients can enjoy beautiful nail enhancements for an extended period.
About the Author
Alice Nali is a skilled nail technician and the owner of AlyNails Italian Academy in London. For more information, visit alynailsitalianacademy.com or follow on Instagram @alynails.italianacademy.


