Introduction
Students and aspiring nail technicians often inquire, ‘What is the most important part of the gel manicure?’ While every step from application to curing is essential, the foundation of a long-lasting gel manicure lies in thorough preparation. Proper prep not only enhances the adhesion of the gel polish but also ensures the health of your nails and skin. This article outlines three crucial steps to prepare your nails for a gel manicure that lasts.
Step 1: Cleaning the Nails
The first step in nail preparation is cleaning. Before any product application, it is vital to start with clean nails to eliminate any oils, dirt, or residual polish that could compromise the gel application.
Why Cleaning is Important
Natural oils and dirt can create a barrier between the nail surface and the gel polish, preventing proper adhesion. Using a good nail cleanser or alcohol wipes will remove these impurities. Additionally, disinfecting your tools will prevent cross-contamination during the process.
How to Clean Your Nails
- Use a nail cleanser or acetone-free polish remover to wipe each nail thoroughly.
- Ensure that your hands are clean, and if you’re working on a client, wash your hands and apply hand sanitizer.
- Use a nail brush to scrub away any dirt underneath the nails.
Step 2: Cuticle Care
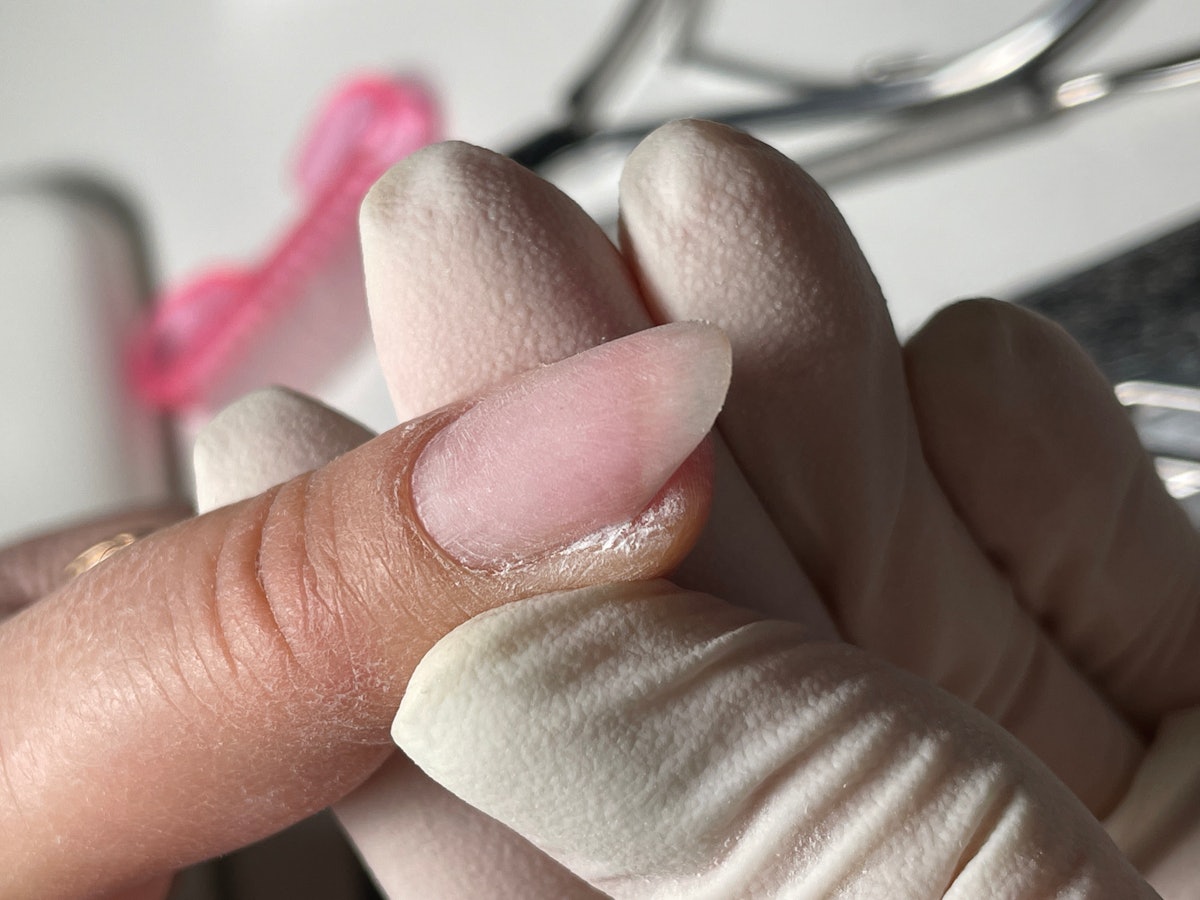
The second step in preparing for a gel manicure is proper cuticle care. The cuticles are the thickened layer of skin at the base of the nails, and they must be managed correctly to achieve a beautiful and long-lasting finish.
Importance of Cuticle Care
Neglecting cuticle care can lead to lifting and peeling of gel polish. By properly caring for the cuticles, you create a smooth and clean canvas which enhances the overall appearance of the manicure.
How to Care for Cuticles
- Using a cuticle remover, gently push back the cuticles with a cuticle stick.
- Trim any excess cuticle growth for a clean look, but be cautious to avoid cutting too deeply.
- Moisturize the cuticles with a good cuticle oil to keep them healthy.
Step 3: Nail Filing and Buffing
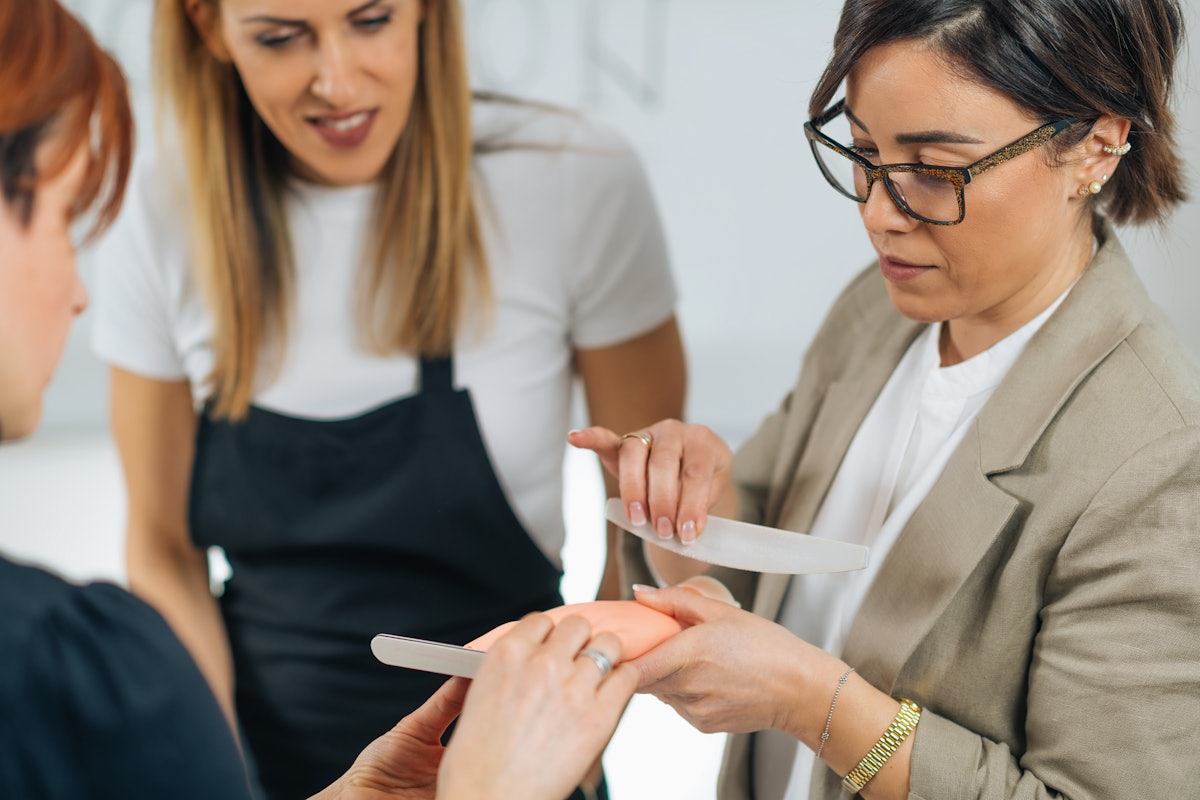
After cleaning and cuticle care, the next step is filing and buffing the nails. This step is crucial for ensuring that the gel adheres well to the nail surface.
Why Filing and Buffing Matter
Filing shapes the nails appropriately while buffing creates a rough surface that promotes better adhesion for the gel polish. A smooth nail surface can lead to issues like chipping or lifting, detracting from the manicure’s longevity.
Best Practices for Filing and Buffing
- Choose a nail file with a suitable grit to shape your nails while avoiding excessive damage to the nail bed.
- File in one direction to prevent splitting and chipping of the nails.
- Use a buffer to lightly buff the nail surface, creating a matte finish. This is key for the gel polish to adhere better.
Conclusion
In summary, the preparation phase of a gel manicure is critical to achieving a professional and long-lasting result. By focusing on cleaning the nails, caring for the cuticles, and properly filing and buffing, you set the stage for a beautiful gel application. As a rule of thumb, remember to always wear gloves when performing nail services to protect your skin from harsh chemicals and to maintain hygiene during the process. These three steps are as essential as the gel application itself, making sure that your gel nails turn out flawless and can withstand the test of time. Follow these recommendations, and your nail services will certainly improve, leading to happier clients and longer-lasting manicures.


